Last updated Oct 15, 2026
Create Media Server LXC#
Both Plex and Jellyfin run in a dedicated Debian LXC container — the creation process is identical for both. LXCs have lower overhead than full VMs, give the media server direct access to the ZFS storage via bind mounts, and make GPU passthrough easier to configure.
Create one LXC and name it after whichever you are installing (plex or jellyfin).
Download the Debian template#
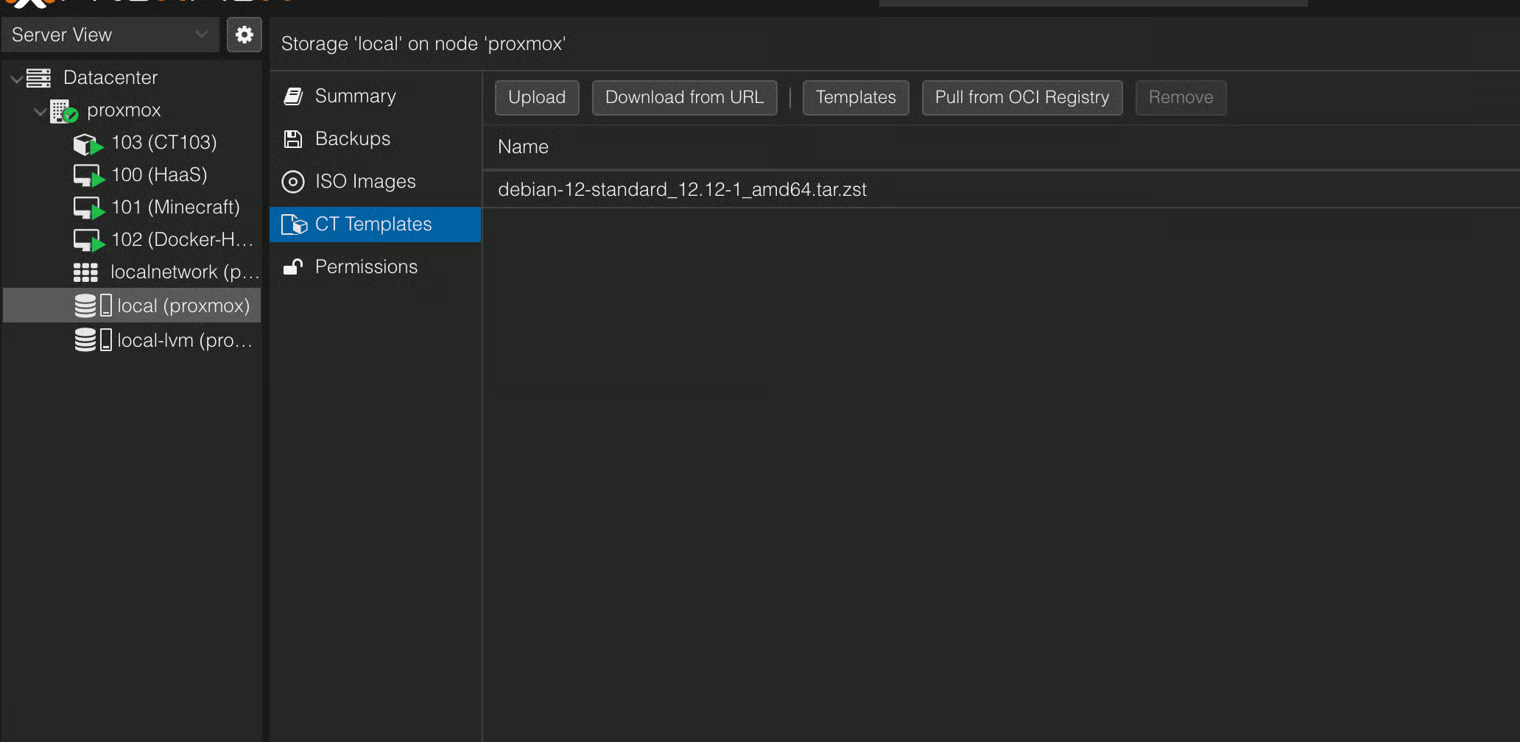
In the Proxmox UI, go to:
local (proxmox) → CT Templates → Templates
Search for Debian and download the latest available template.
Create the container#
Click Create CT in the top right. Configure it as follows:
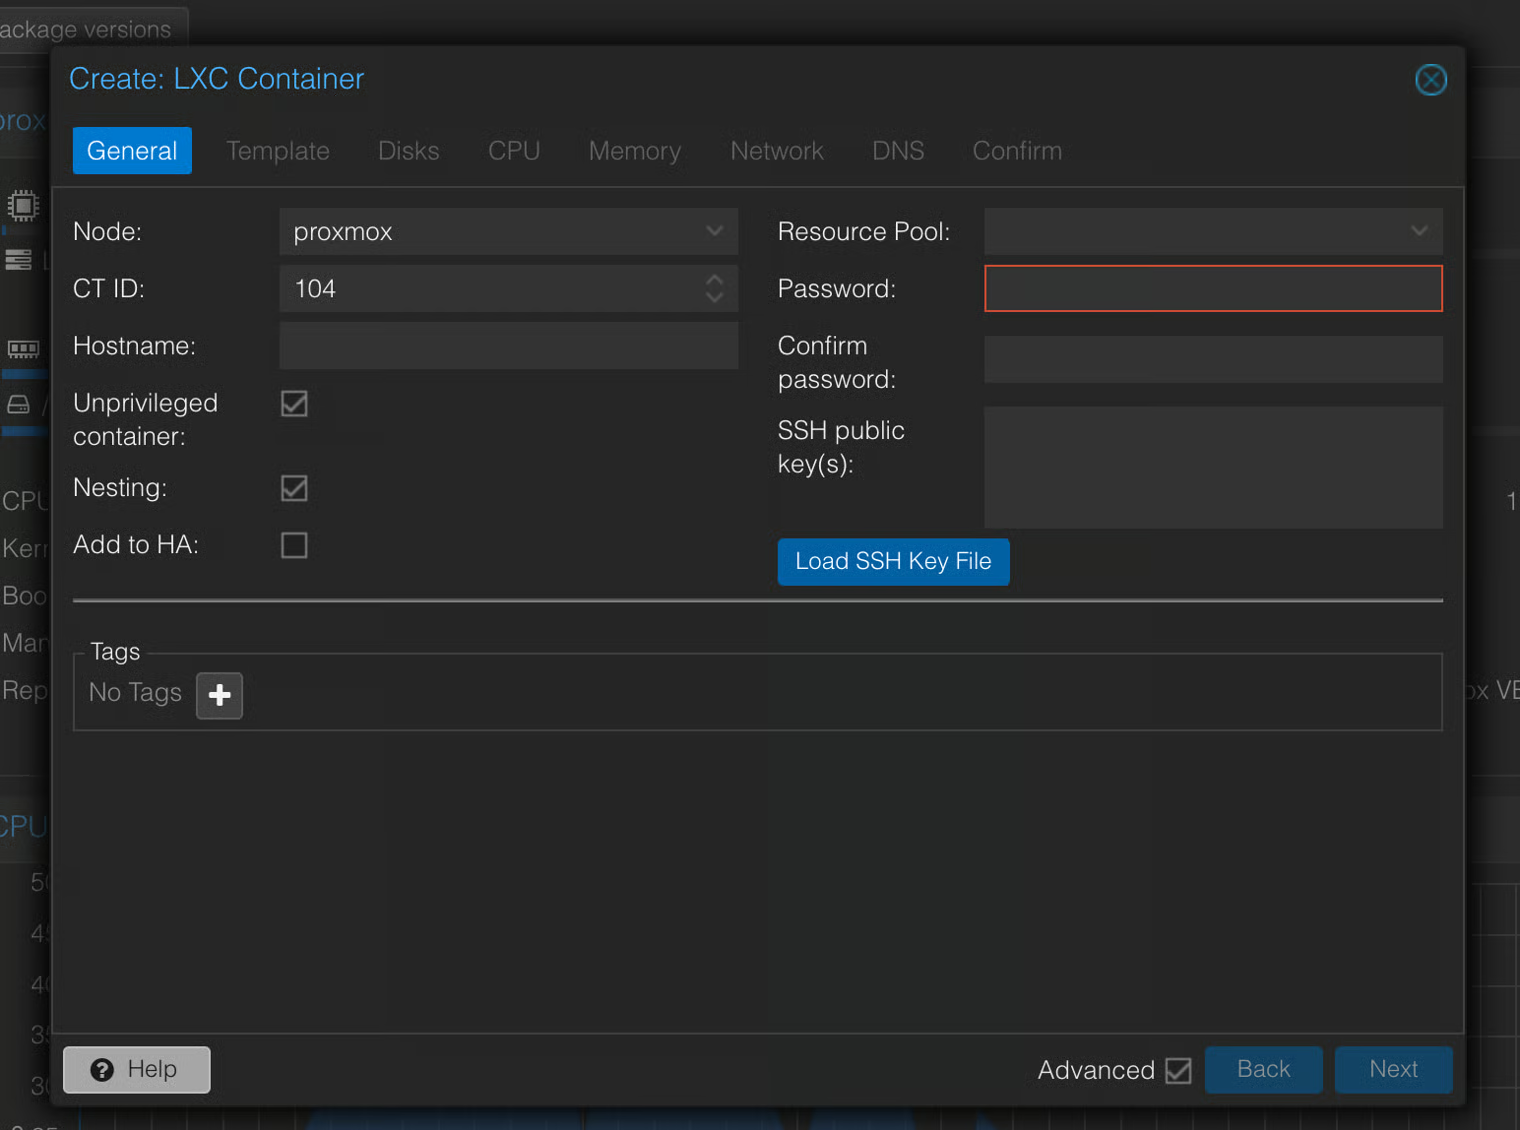
General
- Hostname: e.g.
plex - Password: set a secure root password
- Unprivileged container: Yes
- Nesting: Yes (required)
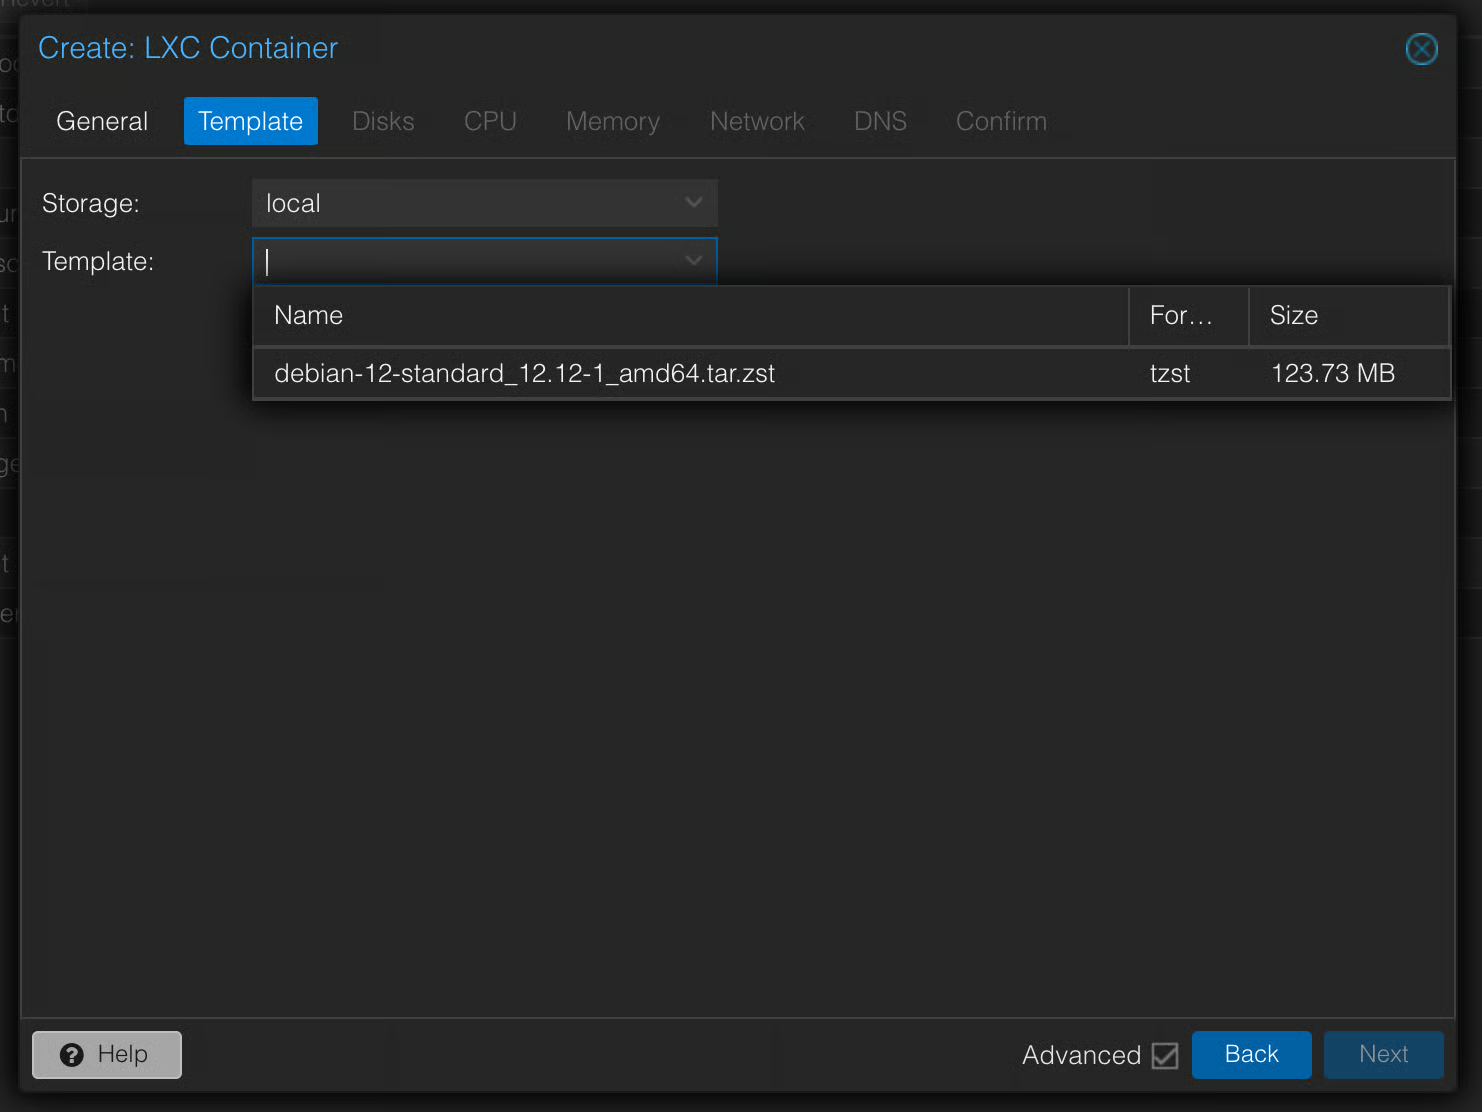
Template
- Select the Debian template you just downloaded
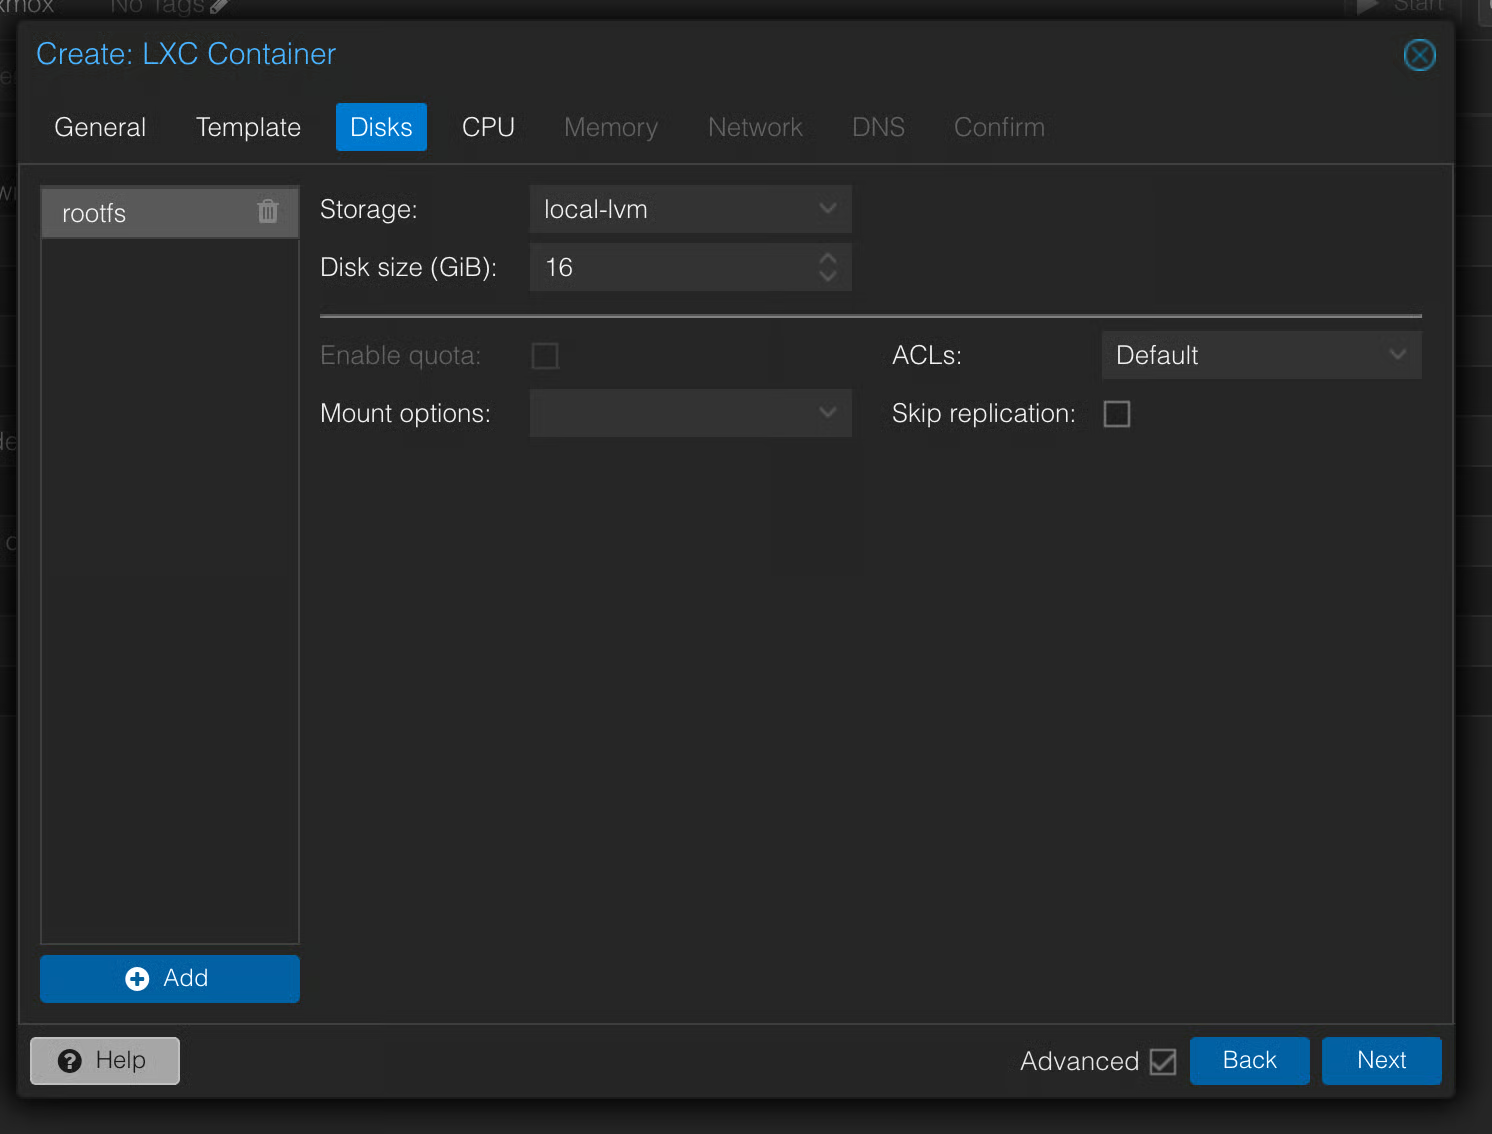
Disks
- Storage: local-lvm (or your preferred storage)
- Disk size: 32 GB
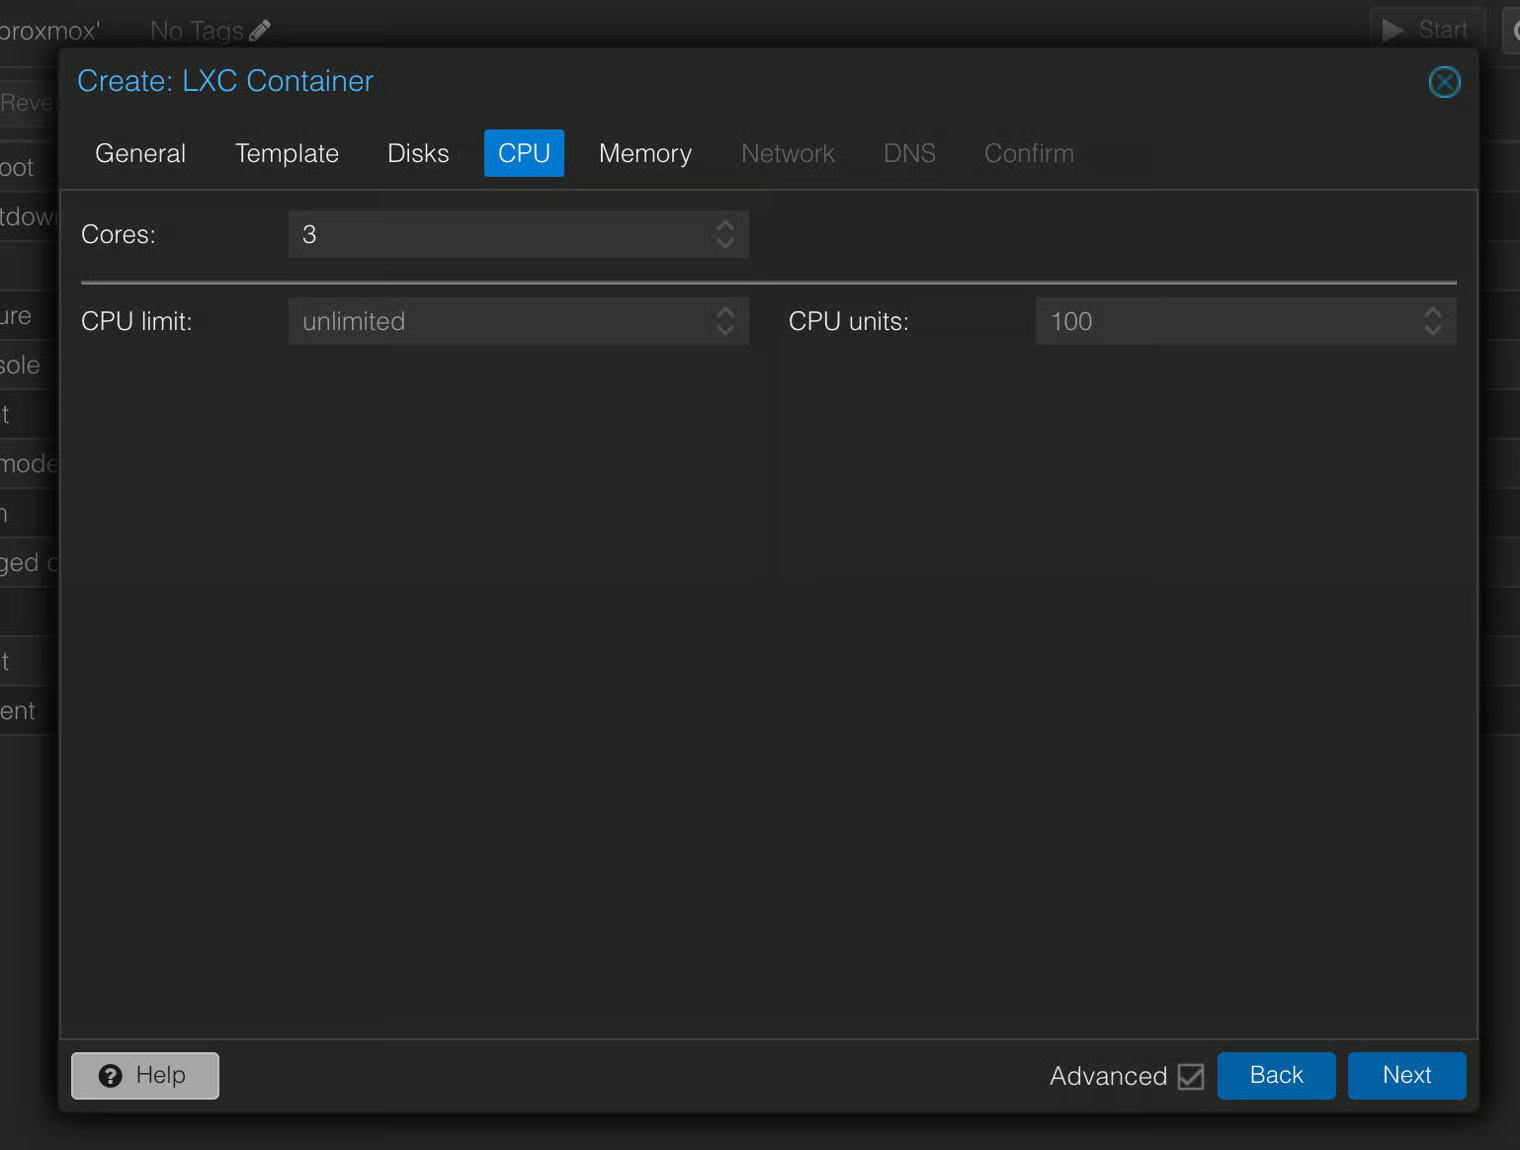
CPU
- Cores: 2–4
Memory
- RAM: 2048 MB
- Swap: 512 MB
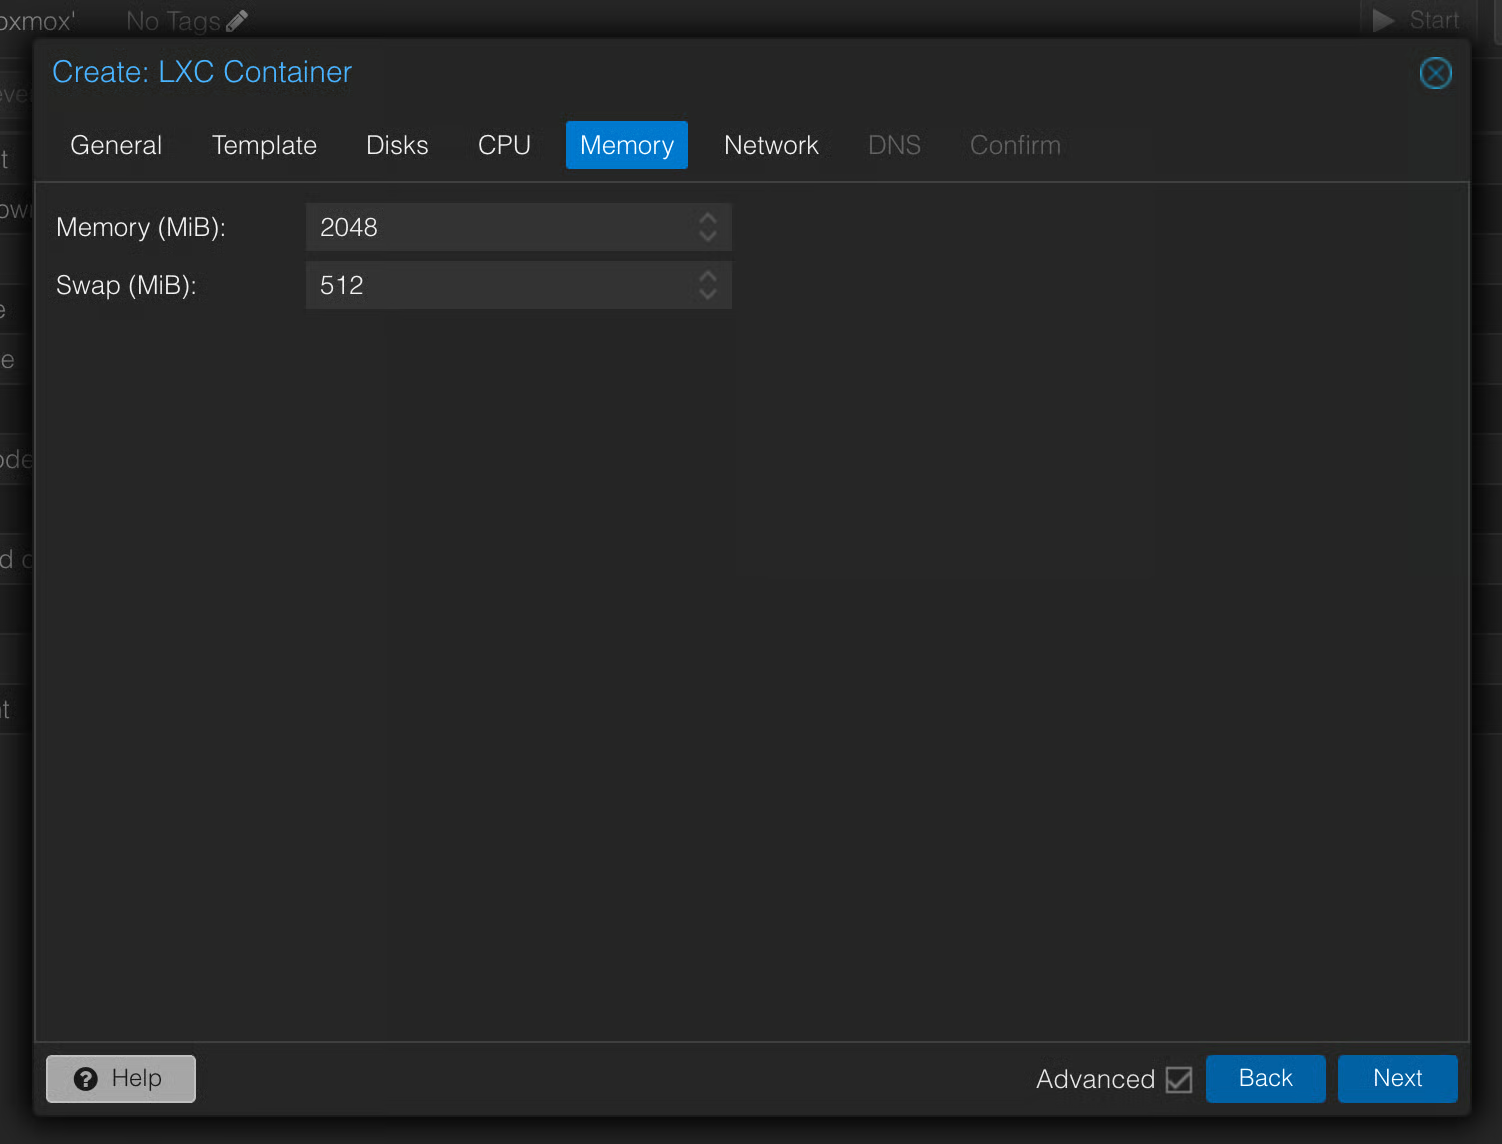
2048 MB is enough to start. On my host Plex later hit that cap during library scans and transcodes, and the swap monitor alerted constantly because cold pages stayed in swap. I raised the container to 4096 MB with pct set 103 --memory 4096 --swap 1024 (use your own container ID) and rebooted it to clear the stale swap. If you run alerts on swap, alert on swap together with low available RAM, because swap alone is misleading inside an LXC container.
Network
- Leave as default (DHCP or set a static IP)
DNS
- Leave as default
Review and click Finish.
Start the container#
Select the new LXC in the Proxmox sidebar and click Start. Open the console to verify it boots correctly.
Why LXC instead of Docker?#
Running your media server in an LXC (rather than as a Docker container inside the VM) has a few advantages:
- Direct bind mount to ZFS storage without going through NFS
- Simpler GPU/iGPU passthrough at the Proxmox level
- Independent restart cycle from the automation stack
This applies equally to Plex and Jellyfin — both benefit from the same setup.
Next step#
The LXC is now running with Debian, but the media server is not installed yet. Storage is not mounted yet either. Continue to Create Docker VM.
Media server installation happens later, after storage is set up:
- Plex: Install & Configure Plex
- Jellyfin: Jellyfin